Mast Work and Synthetic Rigging
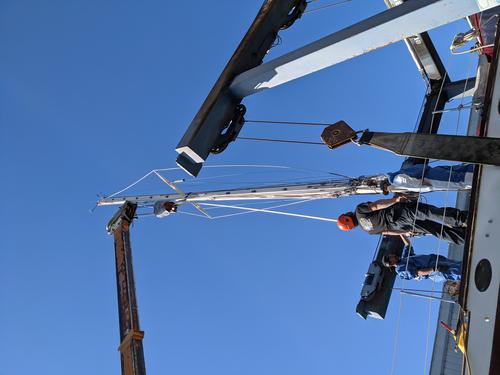
Much of the work outlined in this post took place concurrently while I was in Napa doing my Coppercoat bottom job. I figured there was enough work on my plate while I was destroying and un-destroying my boat’s bottom, so I decided to leave the mast behind at the Berkeley Marine Center.
The bulk of the job would be performed by Ryan of Rogue Rigging, who was great to work with throughout the whole process.
It was quite an extensive refit (or, to be more accurate, a series of refits), and since so much was changed all at once, it’s hard to demonstrate A/B testing for any one thing. But hey, I’ll provide a bit of a
spoiler alert:
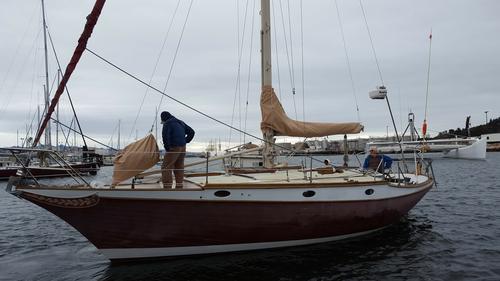
It's way better, now.
Standing Rigging
My old standing rigging was of an unknown age and dubious structural integrity. Considering whomever made the mistake that led to the necessity of the replacing of my chainplates, I decided it was time for a change. As someone that’s open to new forms of technological improvement, I was curious to learn more about fancy new ways to secure a big aluminum stick to a large hunk of fiberglass, which led me down a very deep, expensive, and time-consuming rabbit-hole.
Dyneema
Introduction
Dyneema is a branded form of “ultra-high molecular weight polyethylene” — a form of plastic-like “rope” that weighs basically nothing and has more-than comparable strength-to-size ratios versus old-timey steel wire. There are claims that the reduced weight aloft effectively reduces your heel angle, thereby also improving upwind speed and comfort.
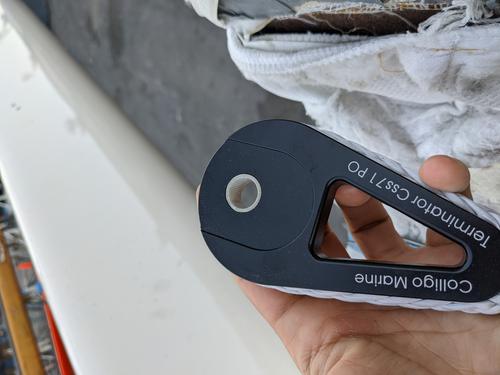
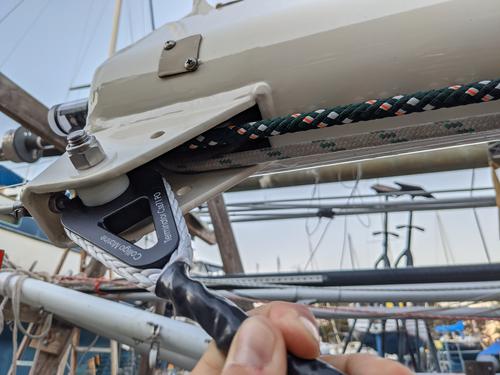
I decided to go with Dyneema mostly for these reasons, and I was told that there’s only one outfit in town to trust — John Franta of Colligo Marine. I made an initial call to him to see what he thought of my boat and the scope of the project and after hearing how much experience he had with this kind of work, I decided to go all-in.
I was pleasantly surprised to learn that the rigger I had chosen, Ryan, just happened to specialize in using Colligo’s pre-spliced Dyneema lines and integrating them onto sailboats.
The installation actually went quite smoothly. But, once it’s on, there are some important things to consider:
Considerations
While intuitively, it’s known that steel will stretch slightly as temperature increases, the opposite is true for Dyneema – it will contract when warmed and expand when cooled.
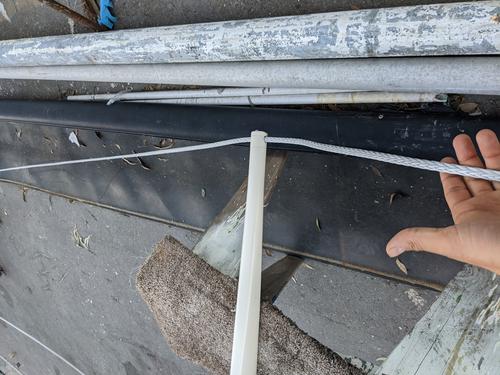
The Dyneema that I received was not pre-stretched, and although the material is known for being “low-stretch” when under tension, it will still have a bit of give that will be expressed over the course of the first few months of sailing, as the tremendous stresses act on it for the first time(s). The stretch I experienced over my first year has not been especially significant. However, I have tightened it a few times as I’ve noticed it becoming looser, on average, but that has since slowed to almost nothing.
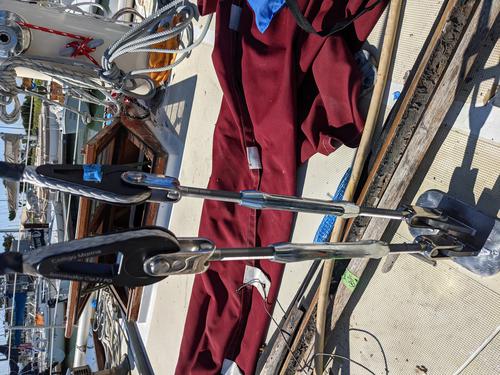
Turnbuckles
Adjusting isn’t such a big deal if you go with turnbuckles. To save money, it’s possible to have an arrangement of lashings, instead, but the inconvenience of undoing the knots and applying tension manually didn’t speak to me as much as taking a screwdriver and rotating a turnbuckle three half-turns at a time counter-clockwise.
While I highly respect The Rigging Doctor, I saw in a video of his recently that they didn’t bother to tension their synthetic rigging over the course of a few years. He has a post on tensioning with deadeyes. No, thanks; I’ll take the easy way out, here!
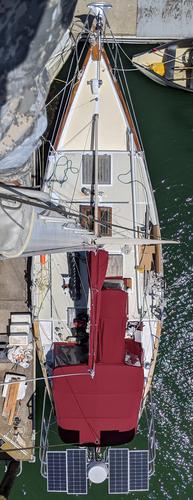
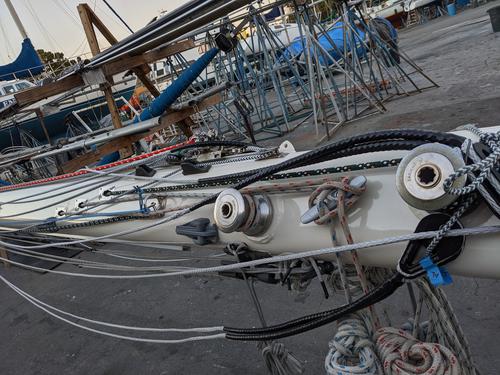
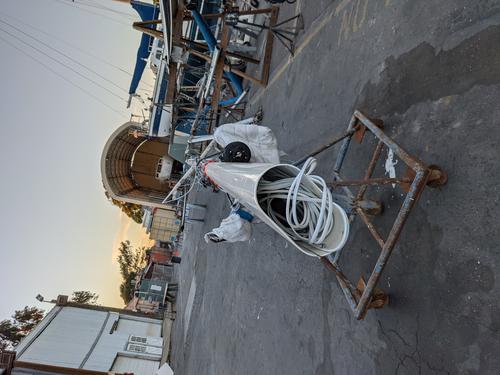
Mast
The mast was still in fine shape, but it had some outdated and corroded pieces to it. There were things banging around inside of it, it didn’t look nice, and there weren’t really enough halyards in case something happened to go awry.
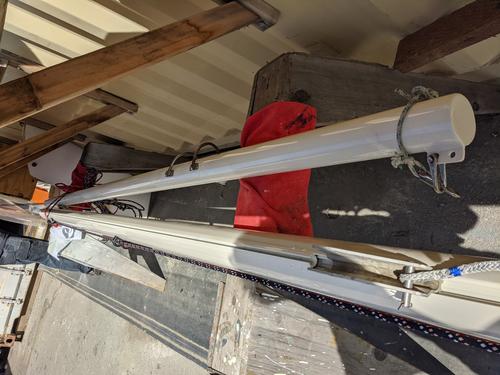
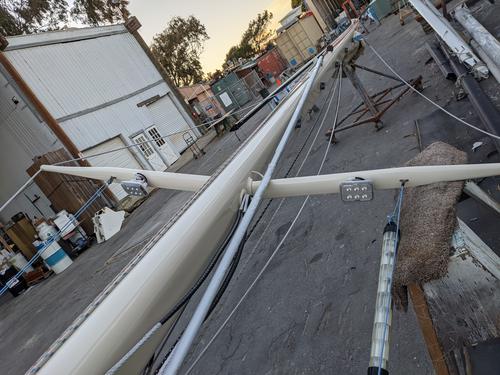
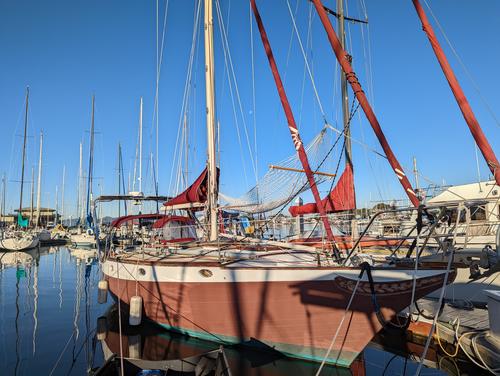
Paint
While some paint jobs “make you go faster,” I decided that putting flames on the mast was not appropriate and decided to go with what looked to be the original color of “cream.” It’s not called “classic” ‘cause it’s old, after all. The yard went with AwlGrip Topcoat Cream H8002 and the results were spectacular. I figured I may as well get the main and staysail booms painted at the same time.
Ladder Steps
The old steps were made out of aluminum, but they didn’t look so good, anymore. They also appear to have been designed to intentionally foul up stray halyards. To resolve both of these issues for the future, I went with folding nylon steps, which would not be affected by UV, would be even lighter than the old steps, and would fold up to make a leaner profile that won’t attract wandering lines so much.
Boom Vang
In a future post, I’ll discuss my new sail plans, but I was planning on getting a new mainsail with larger area, as the Ericson 36C’s boom and main are quite small. With some added roach, I would get some additional sail area without further modifications necessary.
With the added area, a topping lift would interfere with the leech’s new edge, causing premature wear that I wanted to avoid. The resolution to this problem, as suggested by my sailmaker, was a rigid boom vang by Garhauer. They’re cheaper than others and hold a boom up just as well. The kit required my rigger to make a custom template for the mast and the boom. The custom brackets went on just fine, but it’s important to mention that the bracket from Garhauer is good with the normal forces associated with movement of the boom, twisting forces can cause it to bend, forcing the boom into a new semi-permanent rotation angle, until the piece is removed and hammered back into submission.
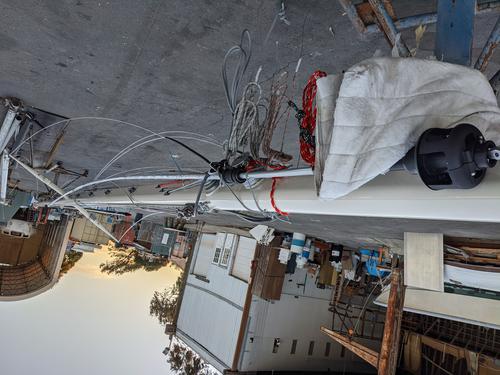
Halyards
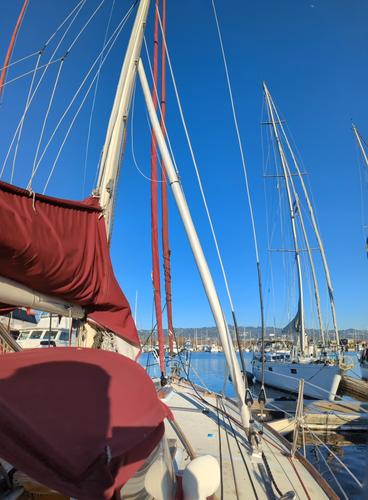
There was no spinnaker halyard when I bought her, but an old spinnaker was included, so it was important to get one put in. I made a point to tell my rigger that I would like a spare of the main and headsail halyards.
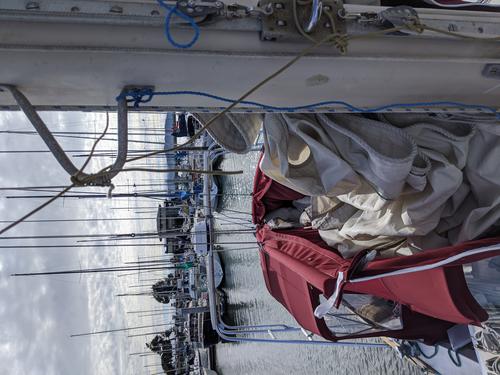
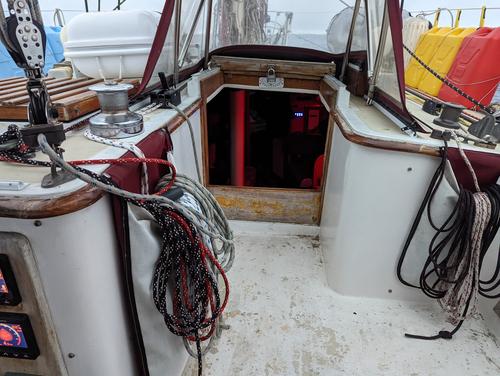
As mentioned above regarding the ladder steps, the lines would often get tangled up and become untenable in some situations, should I be alone. I wanted to try and run all the lines interior to my mast, which was now obstruction-free inside.
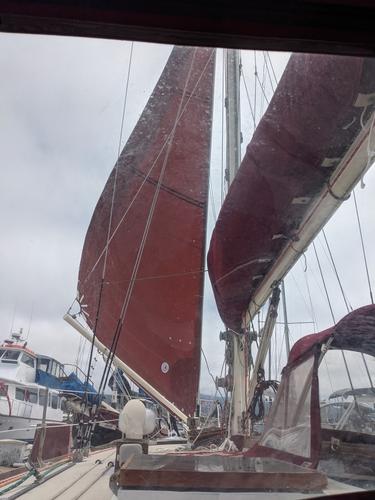
It’s made a big difference. There’s way less clutter against the mast, now, and with fewer opportunities to flail around, the lines have nice, clearly-defined pathways to flow.
Electrical
As was alluded, above, the previous electrical wiring that went through the mast was a complete mess of conduit pipes, improperly-gauged and not-marine-grade wiring, and other unexplainable shenanigans that arent’t able to be observed by known laws of physics.
What was put in its place was a silent run of Ancor marine-grade wires and cables:
- Anchor light
- Steaming light
- Spreader lights
- Coax for a VHF antenna

I didn’t require wiring for my wind instrument as I went with a wireless wind sensor from B&G.
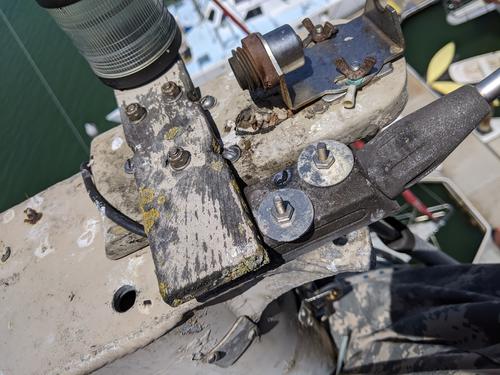
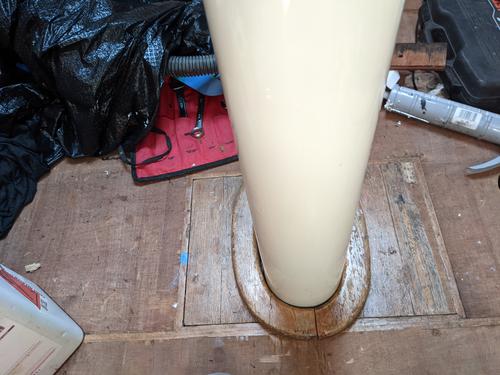
Step
 |
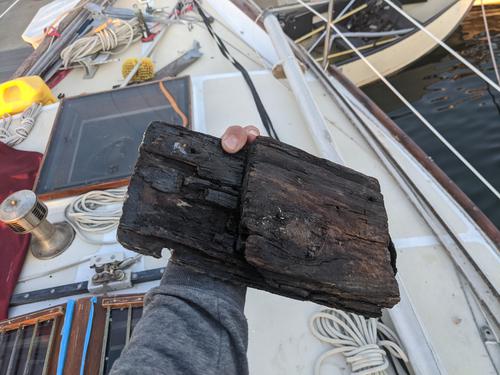 |
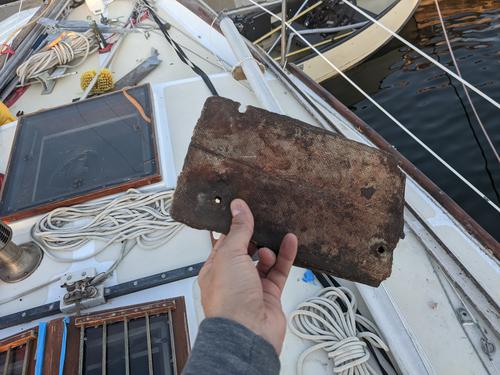
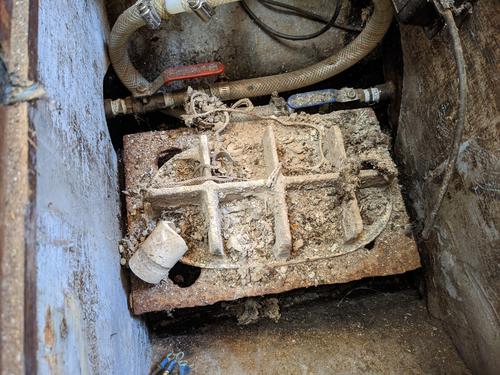
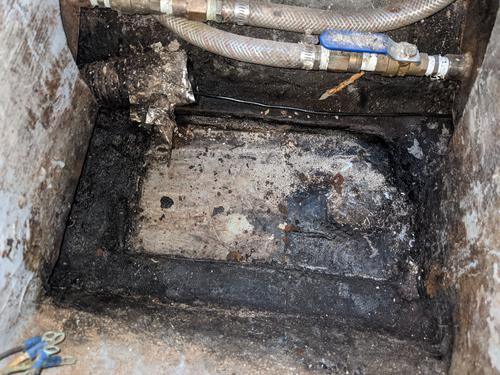
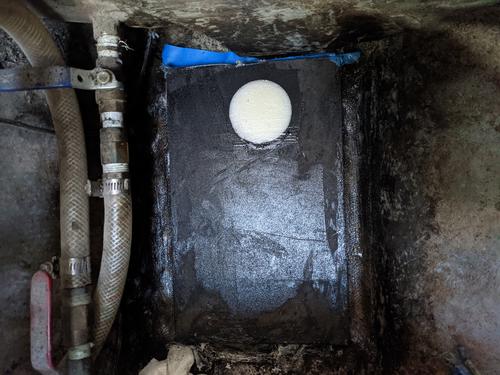
The old mast step’s base was a digusting mess that had no business being in a bilge, right above a keel. It was made of an unidentifiable wood species that had begun the process of disappearing into nothing. On top of the wood was some fiberglass lamination. The step itself was made of (not-stainless) steel with an aluminum step directly above it.
 |
 |
This original piece was used as a template and handed off to a metalworker, who welded the new piece, which ended up fitting perfectly to the mast’s base, with an added bonus of looking really cool.
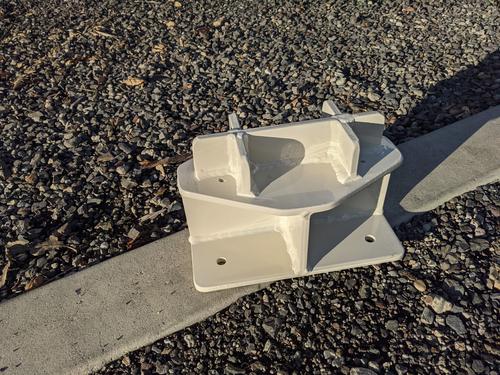
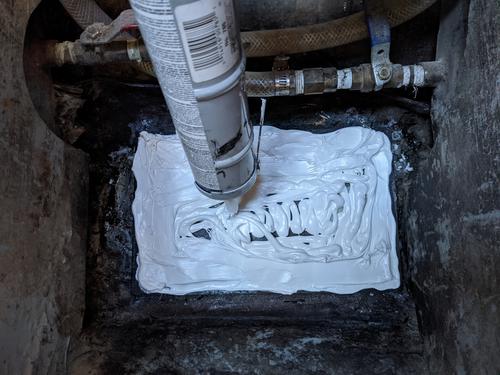
Because I went all-out on the mast’s paint job, even though this piece of art would be hidden beneath the cabin sole, I opted to get it powder coated in a closely-matched color, to make sure that it would last a long time. I also made sure that the new steps base wouldn’t disintegrate and went for a chunk of Starboard, filling any cavities underneath it with West System 105 epoxy, adding 406 thickener to make sure it’s durable and will properly adhere. Above the Starboard, I put a nice, thick layer of Sika Flex, which has a good track record of sticking to plastics and being a long-lasting adhesive that doesn’t mind getting wet.
 |
 |
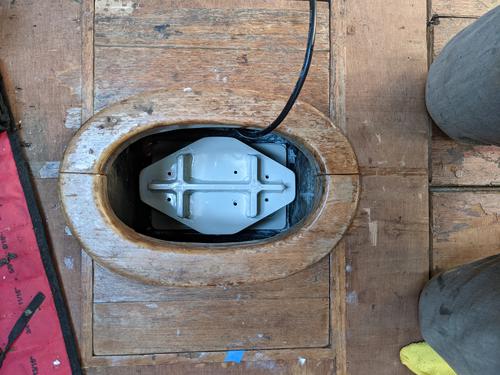 |
The whole ordeal makes it feel like a worthwhile thing to have done, even though, by the time this got put back on, the boat was without her mast for more than five months.
Running Rigging
Standing rigging doesn’t deserve all the limelight.
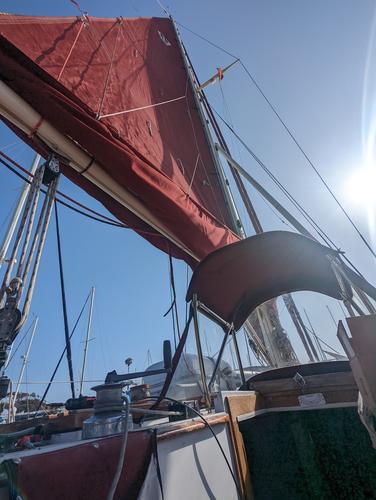
Staysail Furler
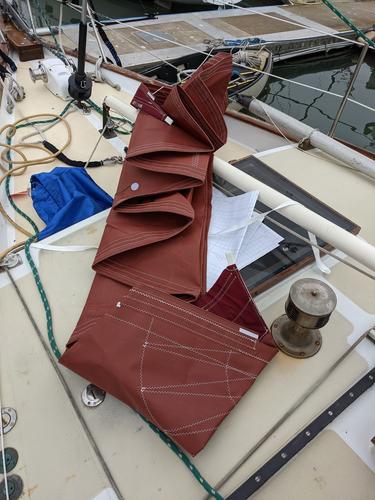
When the boat was purchased from the previous owner, in 2016, I took her out for a sea trial. Nobody, including the surveyor was able to figure out how to raise the staysail, because of how weirdly it was rigged.
Eventually, I figured out how it was [maybe?] supposed to be raised, but it required me to go on-deck, which is already a non-starter. This sail is supposed to be easy to operate. It’s self-tacking, with a boom attached to it, and it’s quite small, so I wasn’t interested in keeping it the most-difficult sail to deal with.
 |
 |
The obvious answer was adding a furler, but it required a few other rigging nuances to be figured out, such as the newly-required concept of an outhaul, which is also sort of like a sheet for the sail and not the boom, I guess?
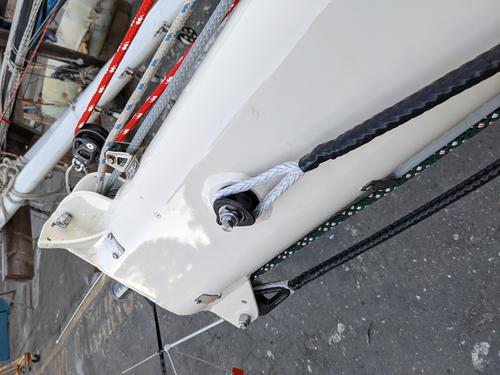
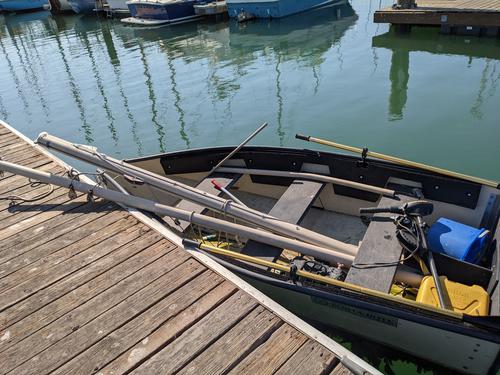
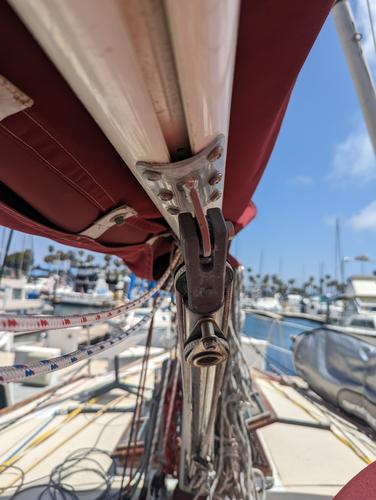
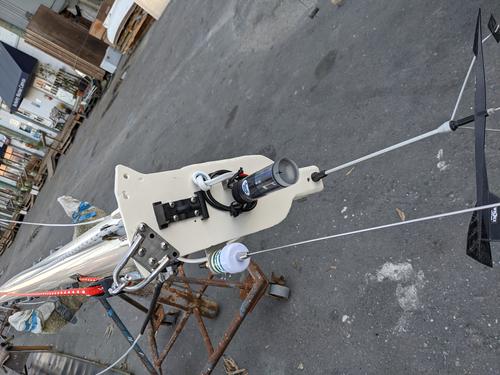
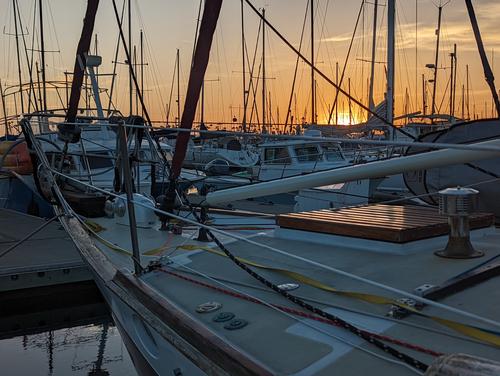
Pole Mount
Rigging the pole used to be a dangerous game. Being on deck in rough weather is never fun, but holding up a big spinnaker pole with both hands, without the aid of using one hand for support and balance can be a real chore. Trying to thread the needle while hoping that the autopilot doesn’t go rogue during the four-or-so minutes that it takes to raise the pole is wishful thinking. I thought, “there must be a better way.”
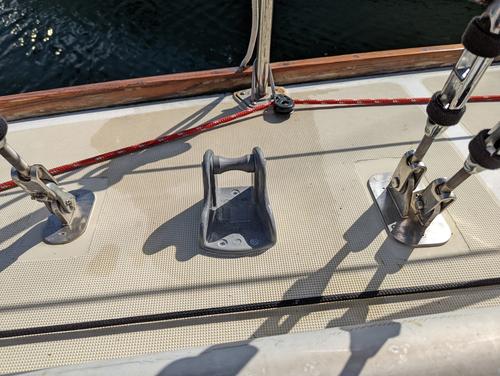
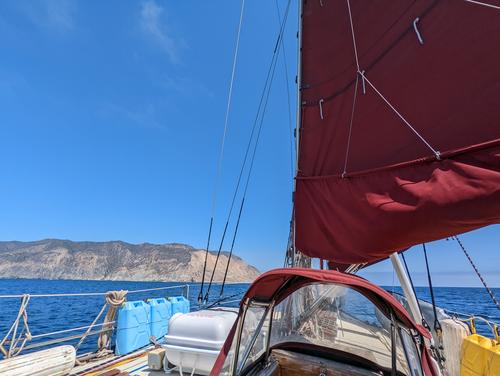
I’d seen some boats with spinnaker poles mounted diagonally from the deck to the mast, mostly in-line with the standing rigging. While it would mean some more weight aloft, I was still on a favorable weight budget from the savings of switching to Dyneema rigging.
After getting it mounted, which was only about an hour of work, once I found the right deck chock to use, I’m happy to say the difference is huge. Mounting the pole on the mast means it always has one point of contact with something sturdy and it becomes more of a job of rotation to the right spot as opposed to lifting the entire pole without aid.
I’m able to set the pole and take it down single-handed, each way taking only about one minute.
All Lines Led Aft
We’re going to shift in time a bit, to May of 2022, where I was comfortably resting in the beautiful port of Ventura.
I decided to enlist the help of a fellow cruiser, Mitch, from Q+M Travels. I was there when he and his wife, Quincey cast off their lines to go cruising in October of 2020, and they happened to be in the Ventura harbor with me while I was planning this next phase.
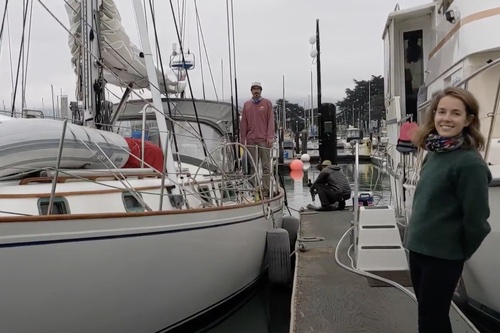
Replacing a Winch
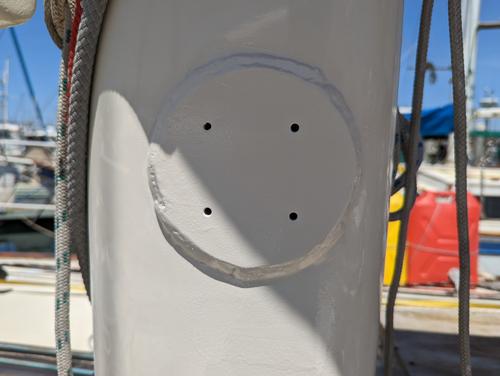
What happened on Tuesday during the first trip caused a winch to break on the mast, during heavy seas.
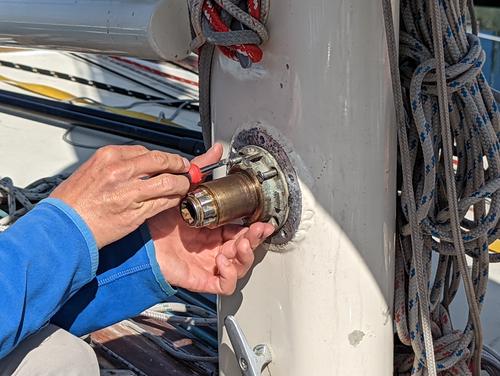
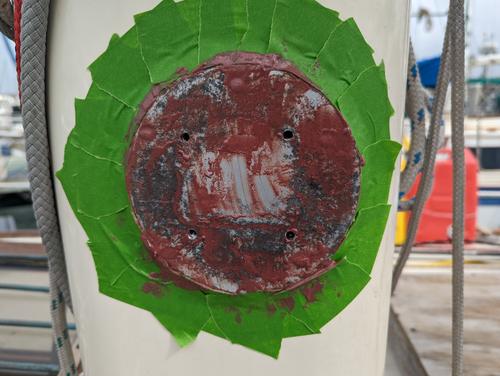
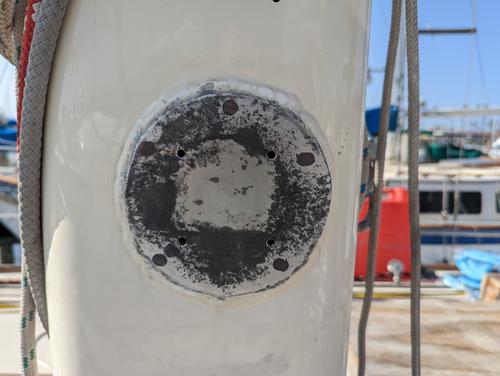
I was replacing the broken winch with a smaller Barient 10, to match the other three that were mounted on the mast. The screws holding the old one in had completely seized. That wasn’t a huge deal, as the replacement would need new holes drilled and tapped, anyway. My mast was equipped with thick aluminum pads welded to it.
 |
 |
 |
 |
After fairing, priming, and painting, the new winch looks and operates great.
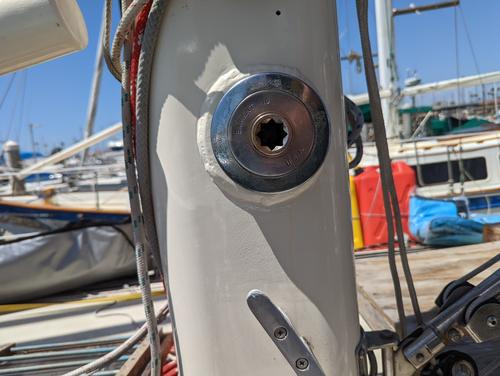
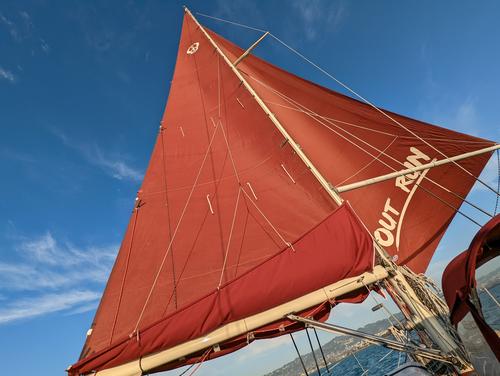
This will only be used as a backup until it’s time for me to actually fly an asymmetrical spinnaker using that newly-installed red halyard.
The Rest of the Work
I decided that going on-deck to reef was just silly. If I’m alone, how could I be expected to get up there, in a favorable wind angle, and maintain my balance while I’m hoping to reduce my sail area?
Newer cruising boats’ designers all seem to have the right idea — lead all the lines to the cockpit, so you never really have to go on deck (and if you do, at least the spinnaker pole is mounted against the mast, now).
Fortunately, I had a lot of spare hardware already on-hand, including some clutches and cleats, and there was a consignment shop within a few minutes’ walking distance away. I had to get some teak riser pads, winches, backing plates, and hardware.
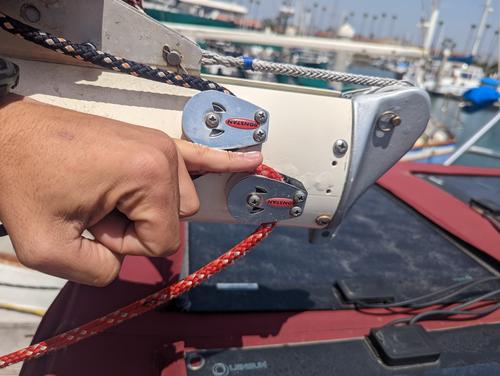
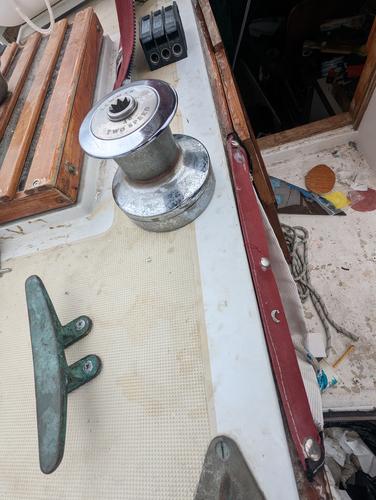
Previously, I had no way to efficiently furl my headsail, aside from using brute strength and the power of hope. Now, I have a clutch where the furling line can be safely secured and optionally fed to a winch, where I can use a handle to grind it in under the worst circumstances.
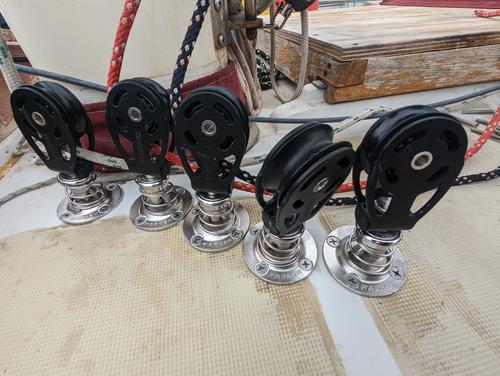
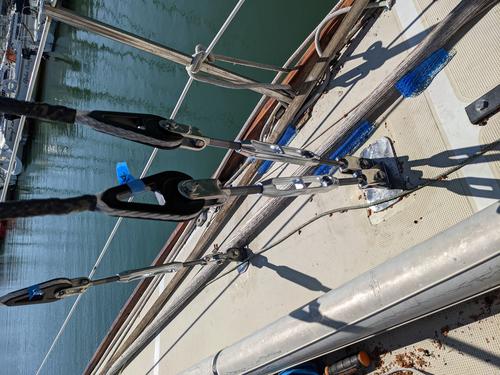
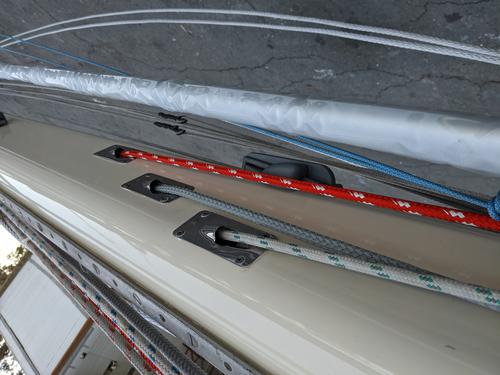
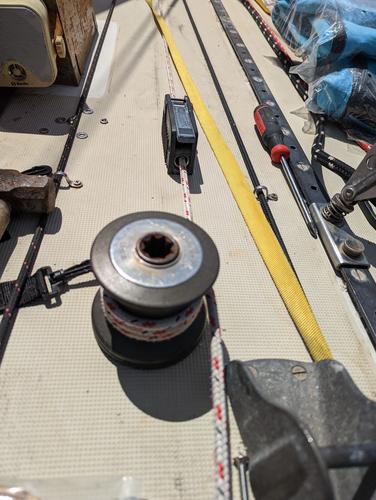
I added some fancy blocks to the deck to run my halyard, two reefing lines, and two downhauls.
From there, the downhauls lead underneath my liferaft and to a cleat. They won’t require much force, so this system was not designed for them to be able to go to the winch, easily. The two reefing lines and the halyard are fed and under my dodger, going into a clutch assembly, where they can be helped along by a large winch.
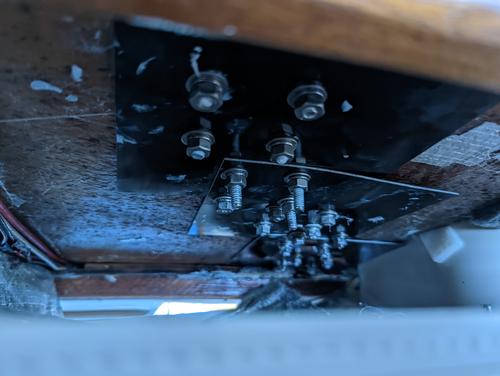
Of course, I got some backing plates to make sure my [thick] deck doesnt get ripped apart by the opposing up-forces or the halyard and reefing lines.
Closing
I decided not to make any compromises, sparing no expense and making sure that this boat will be as ready as possible for what I’m expecting from her. We’re going around the world, after all.
| cost | |
|---|---|
| $238.04 | |
| + | $390.00 |
| + | $7538.55 |
| + | $3059.00 |
| + | $4697.75 |
| + | $1,837.09 |
| + | $600.00 |
| + | $643.19 |
| = | $19003.62 |
The price was heavy, yes. But, this is my cross to bear while I prepare for the trip of a lifetime.
Previous: What Happened On the First Trip? | Next: Don't do It
- [ 2022-02-22 ] What's the Plan for Departure?
- [ 2021-04-25 ] Replacing Chainplates
- [ 2021-02-19 ] Three Months of Hell in Napa
- [ 2021-02-02 ] Wireless Networking on a Sailboat
- [ 2020-10-21 ] Installing a New Electric Anchor System
- [ 2020-08-02 ] Making Custom Cockpit Cushions
- [ 2020-08-02 ] Setting Up A Signal K Server with a USB Gateway