Installing a New Electric Anchor System
Preface
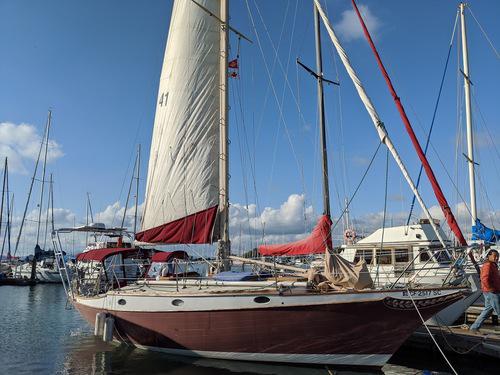
I wanted to take the boat out for a peaceful weekend at anchor. I chose a common spot in the SF Bay, Aquatuc Park, on the northern shoreline of San Francisco. I got all geared up and ready to go.
My relevant equipment:
- Bruce Claw Anchor (35 lbs)
- HySpeed Manual Anchor Windlass
- 5/16” G43 Chain (200 ft)
- No Rode Line
Just a few months prior, in September, I successfully anchored without a problem at Pillar Point in Half Moon Bay, but the conditions at Aquatic Park were different.
After I pulled into the anchorage, the wind was Westerly and the current was ebbing out to sea, creating opposing forces that made anchoring feel impossible. I got a good workout trying to raise and lower that manual windlass three times. But the boat was being pushed too much by the wind, such that the bow was facing the opposite direction of the chain (which was being pulled by the current). I wasn’t able to set properly and decided to engage Plan B and head back to home port.
On the way back, I decided I wanted to minimize the possibility of this ever happening again. Time for another project…
Refit
Anchor
An anchor system starts with an anchor. I found myself all-of-a-sudden watching videos of anchor tests for hours at a time. Independent creators make these sorts of decisions so much easier. Boat merchants notably don’t have enough reviews on their products for consumers like me to make informed product choices.
After what I hope was enough research, I decided to put an overbuilt anchor on my overbuilt cruising vessel, a 55 lb Mantus M1, which is sized as a storm anchor for my 17,500 lb boat.

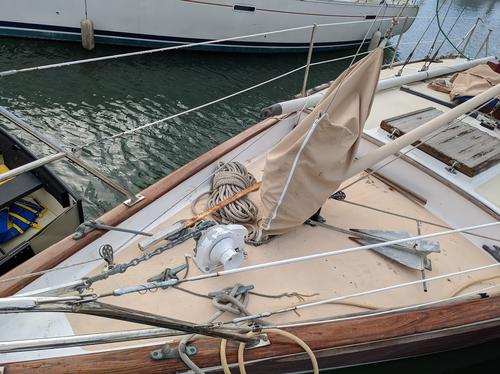
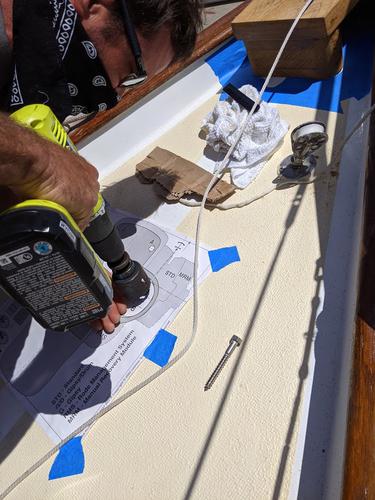
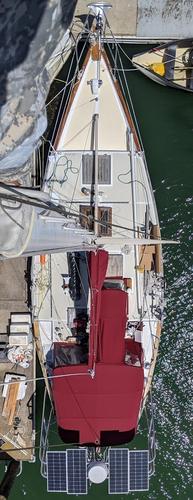
A couple of problems become obvious right away. First, and most importantly, that roller furler is in the way of the Mantus deploying. Secondly, that windlass isn’t sized to haul up an anchor that heavy. One less-obvious controversy is the overall condition of the foredeck.
It’s not very clear from the photo, but from my boat’s original purchase agreement (from the ’70s), there was teak covering it. Look carefully at the photo above and observe the rust spots from fasteners that weren’t properly removed or sealed.
Because I’m about to do major work up there, now’s the time to do it. ‘Funny how one poor day anchoring starts stacking up to more and more difficult projects (which has a direct correlation to money).
Parts
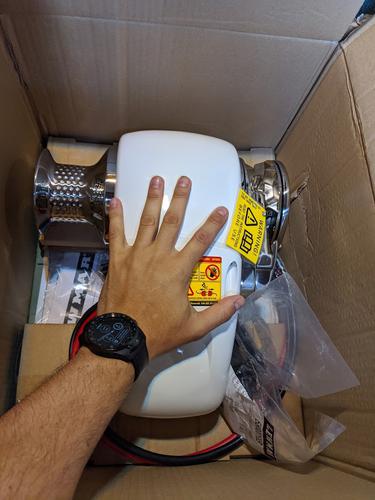
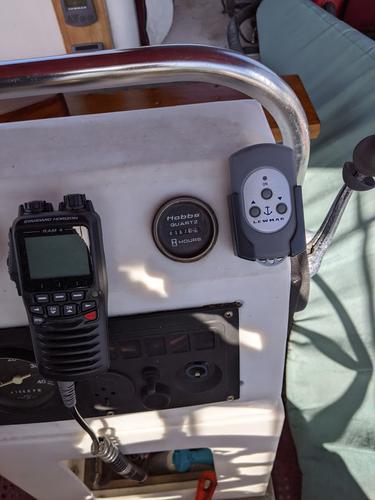
I decided to go with a higher-powered windlass than I needed. It seems like a motor that can handle a boat one size larger is the way to go, which is why I chose the Lewmar Windlass H3, 12V along with a few extra creature comforts, such as a handhed remote for the foredeck and a wireless remote for any situation where I need to run around and trigger the windlass.
Having what I consider to be a pretty-looking boat, there were some aesthetics to take into consideration. I liked the look of having the horizontal windlass on the foredeck and decided to go for something sleek and unoffensive to get the same effect.
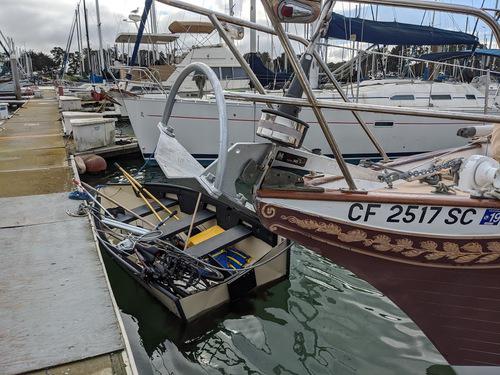
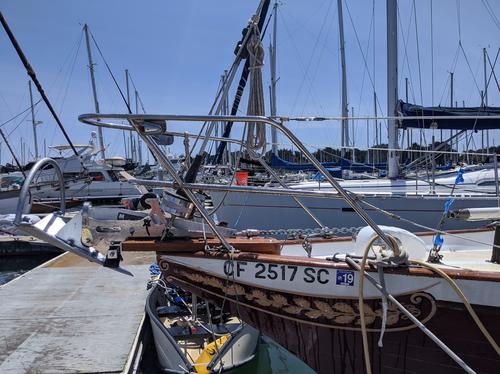
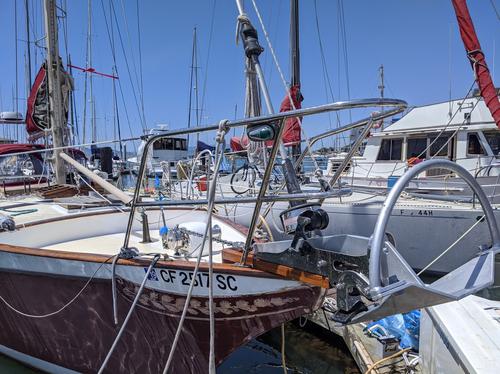
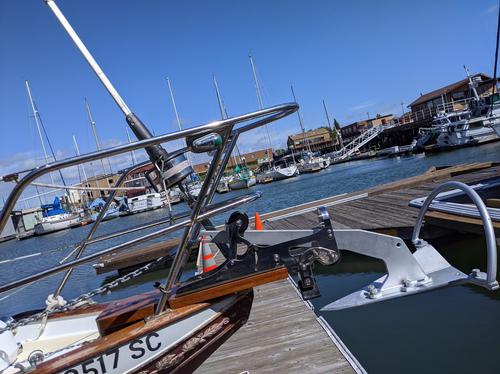
The old bow roller looks like it was forged in the Ericson furnaces and was made just for this vessel, but it had to go. Check out all of these holes; despite its appearance, I don’t think it was there when the boat was built. There are some photos down below that support this train of thought.
I hired some assistance to help me get this project done. Positioning is informed by alignment, so getting this step wrong has some pretty horrific implications down the line. We planned the whole time to build a plank, effectively extending my LOA so the new bow roller has enough “meat” to grip to be structurally stable.
Mental Health
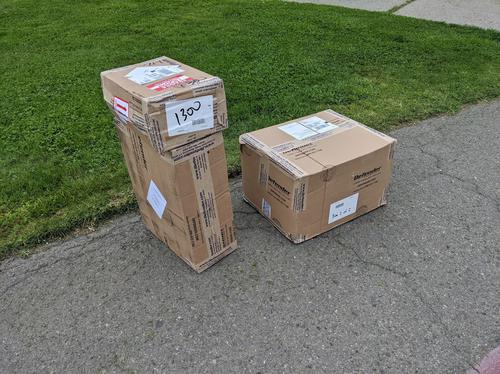
During any long, stressful project, it’s important to enjoy the little things. Among all of the other arrivals, a [self] care package of boiled peanuts.
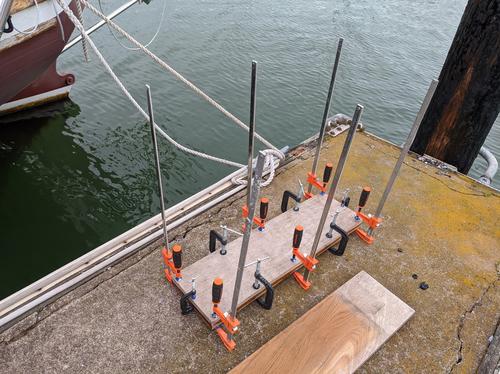
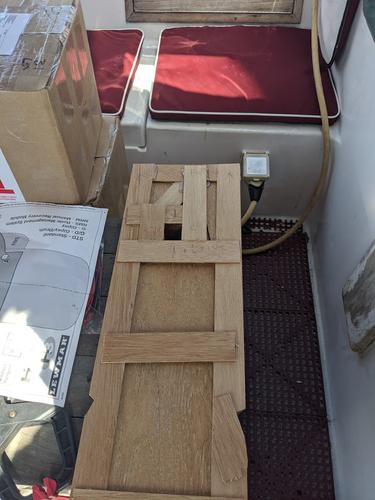
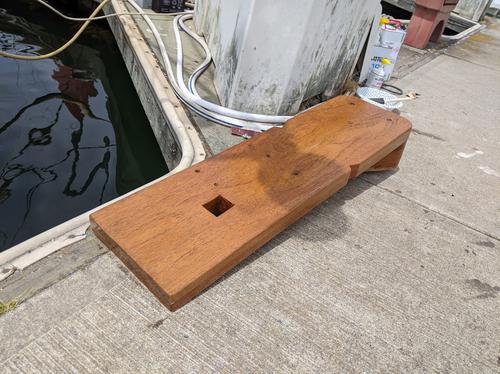
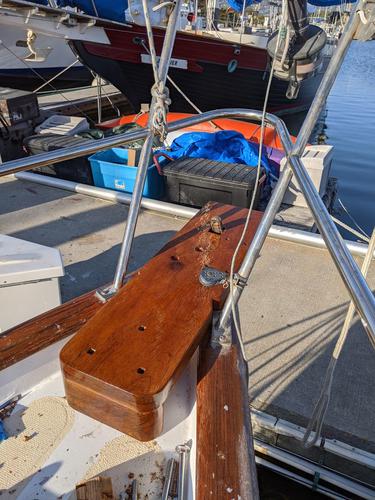
Bow Plank
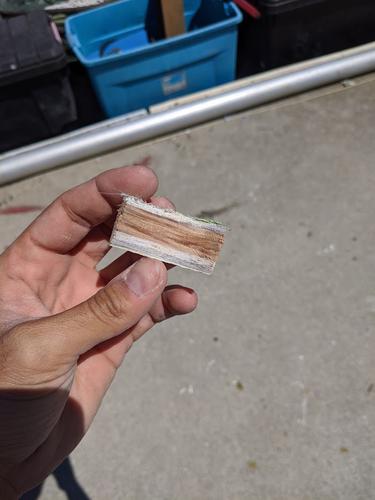
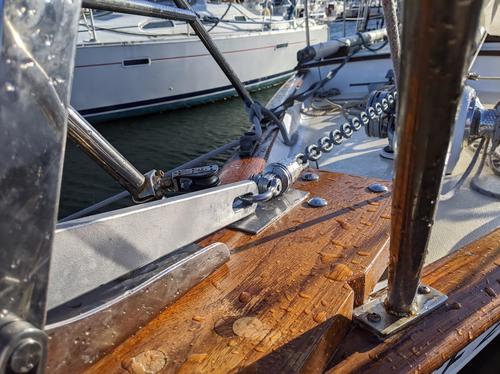
I had some spare 4/4 teak lying around and it just happened to be the perfect size to use to laminate together and make a nearly two-inch-thick monster. The second image below has the two-dimensional template which was derived from the alignment step. There’s a hole in the center of the wood in the fore section to accomodate my forestay.
Although the Ericson 36C is fiberglass, the hull is lapstraked and has the appearance of being wood construction. There’s a heavy compliment of teak railing. Going with this timber theme, I think the bow plank design is both practical and beautiful. By the end of this post, I think you’ll agree.

Foredeck Proper
Looking at the “before” photo, it’s horrifying it ever looked like that. It feels really good to have all the old rust spots drilled out and filled with epoxy (and in one spot, plugged with wood and fiberglassed over). The uniform appearance of the renewed foredeck is a huge improvement. After it was all cleaned up, the gel coat was in decent shape.
The first step is a primer, Interlux Epoxy Primekote. Using a two-parter that has a chemical exothermic curing process makes me feel better about its long-term potential. It creates a good solid seal against water, which will behave as a first line of defense against any water intrusion.
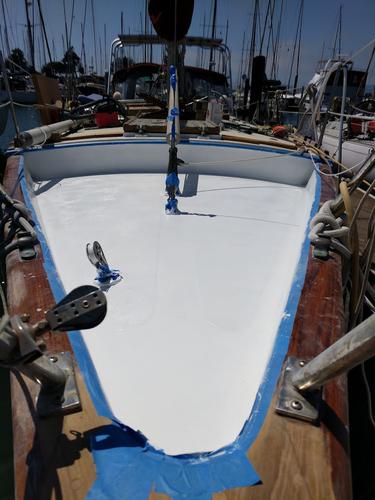
Next up is the paint, Interlux Perfection, Snow White. Another two-parter, this stuff was decently easy to apply. I recommend simply rolling it on instead of using a brush. Perhaps I’m an amateur, but a small bit of fine-grit sanding cleans up any orange peel, no problem.
It was physically painful to look directly at, which is pretty cool. I was snowblind from the paint job.
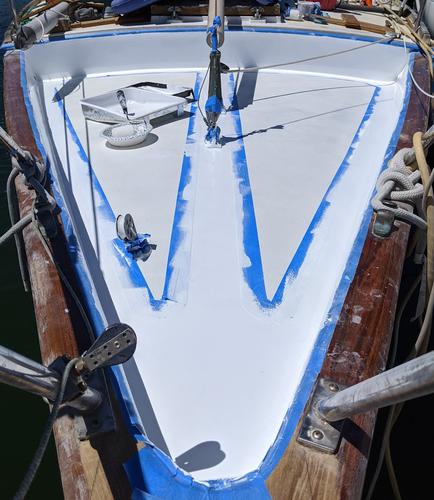
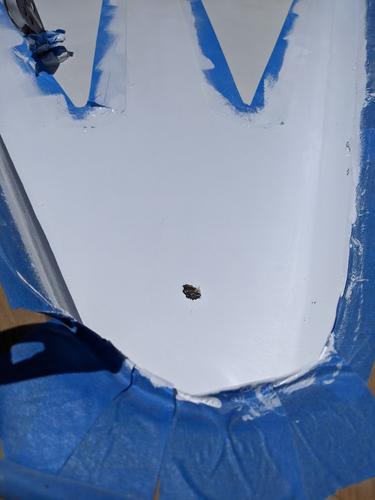
Apparently, the seabirds weren’t a fan of the job I did. A sniper struck me right as the last layer dried.
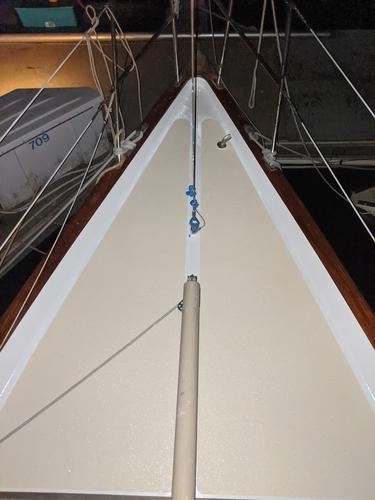
To top everything off, KiwiGrip in cream. This final touch really brings the foredeck back to life. It’s so easy to apply, too.
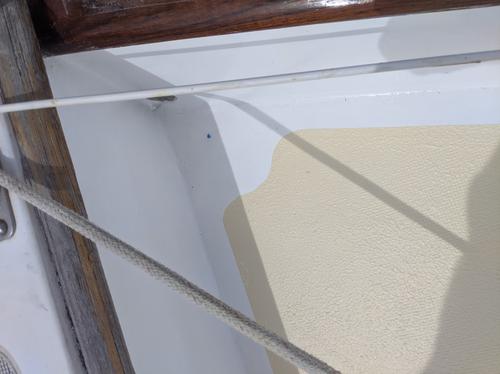
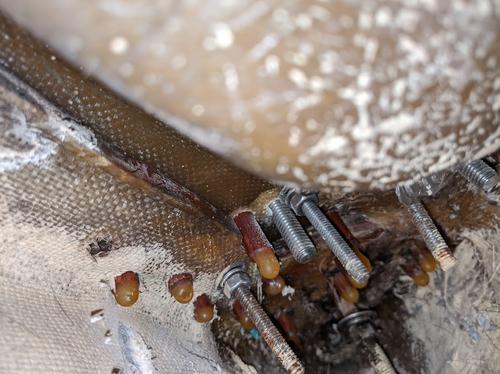
Drilling holes in a boat always makes me nervous. Seeing what the foredeck core looks like makes me even moreso.
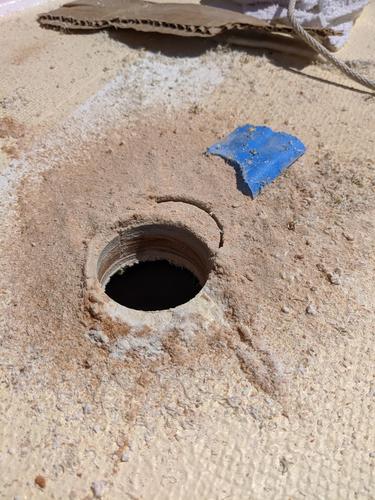
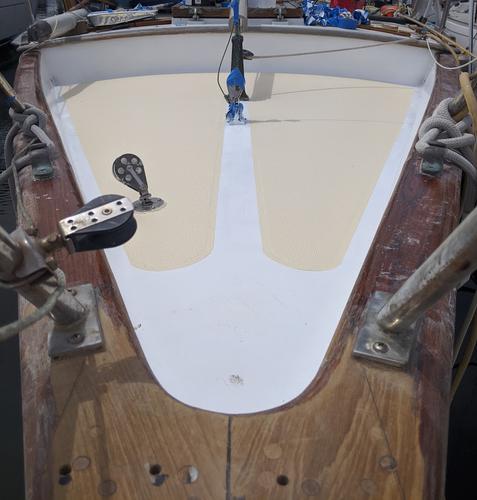
After a solid cylinder was extracted, I was delighted to see dry, golden plywood sandwiched between very thick fiberglass.
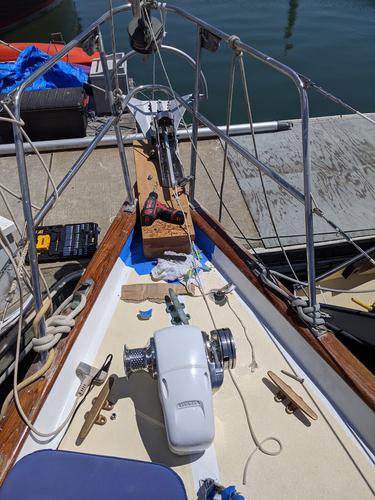
Dry-Fitting
This is where we hope we did the right thing in the first alignment step.
The sight picture is looking good.
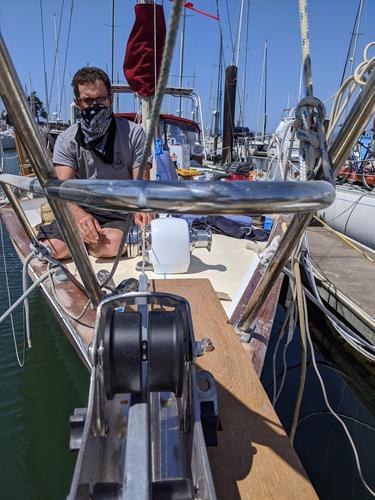
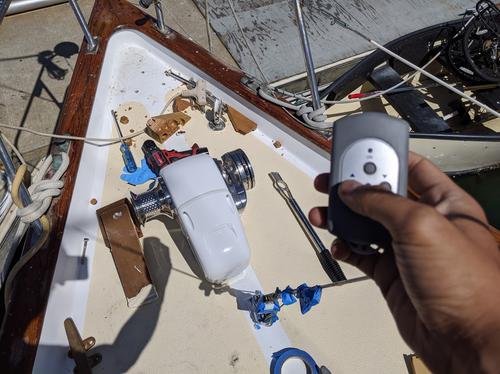
Adding the anchor, you can really start to see where this will end up.
My Nightmare
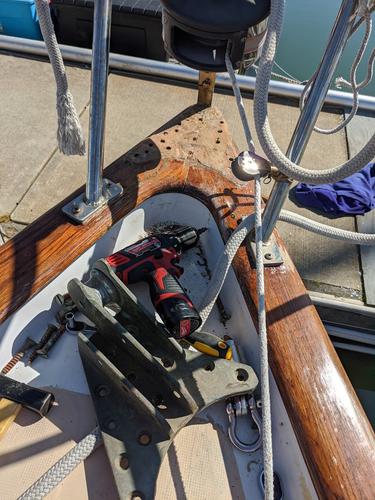
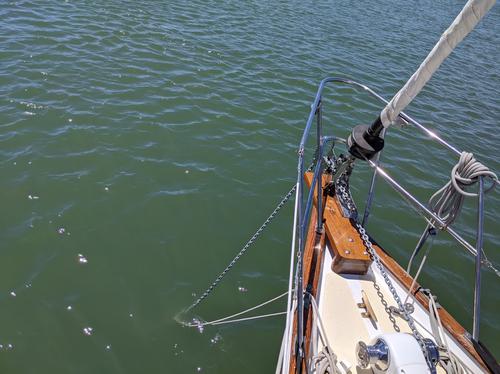
I have a spacious anchor locker, but as you go further forward, things get tight, fast. This is all the way under where the old bow roller. The new creepy-looking globs are mahogany plugs with some G/Flex epoxy. But what’s worse are these old bolts that aren’t atached to anything. It made through-bolting in this step pretty painful (including the itchiness from the anchor locker).
Wiring
I have another boat guy for extensive wiring projects. I had to run a lot of wires through from the battery compartment to the new dedicated AGM battery under the V-berth. I went that route to reduce the high-current wire run and to simultaneously separate the windlass power source from my house bank.
The AGM is charged from my lithium BattleBorn batteries via a Vicron Orion-Tr Smart Isolation DC to DC Charger.
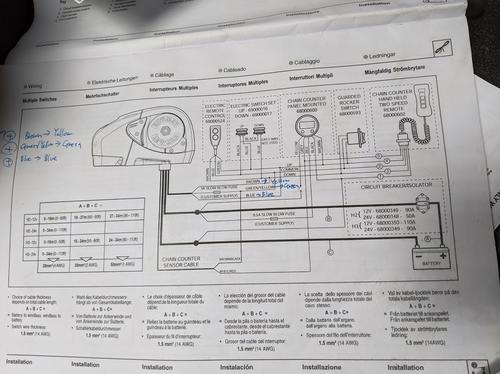
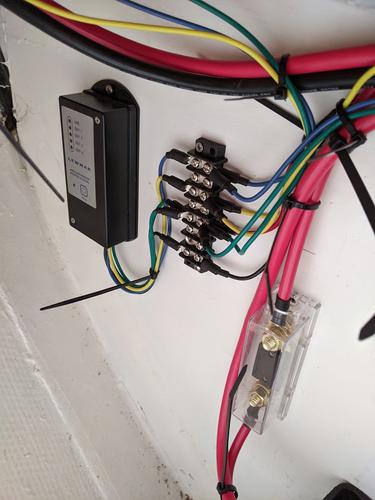
To start, I only wired in two control mechanisms:
- A handheld remote
- The chain counter (which doesn’t currently count chain as wired)
In the work backlog is adding the handheld, tethered controller and a stationary rocker switch.
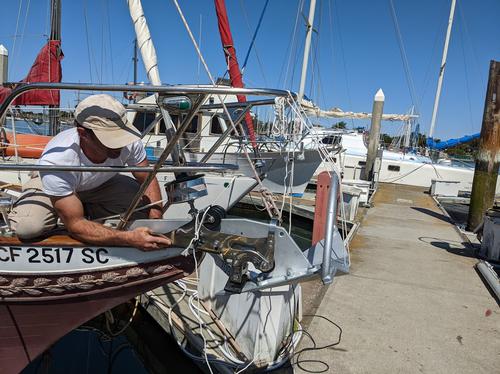
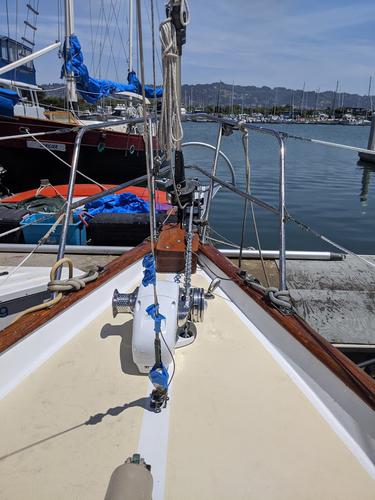
Next up, it’s time to mount the $2000 piece of wood onto the bow. The goal was to “make it look like it grew there.”
Putting the anchor onto its final pedestal is a good feeling. It looks strong enough to use as a battering ram to sink any enemy ships that try to plunder me.
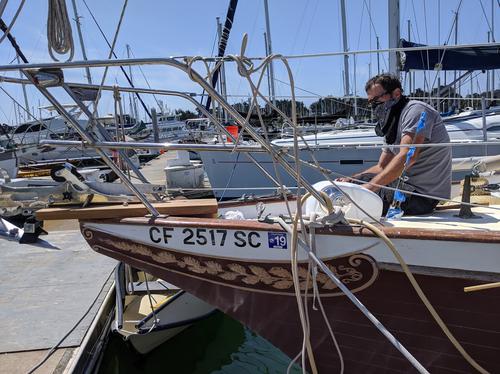
Scenery
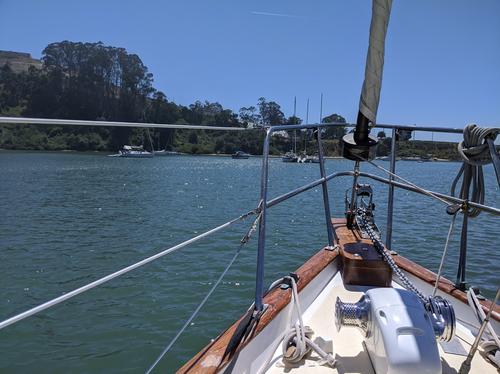
I had to swap out my wind instrument as it had stopped working. While I was up there, I looked down to see this epic scene:
Testing
Single-button operation is a really great feature. I don’t have to run up to the foredeck to lower or raise the anchor. The scenario I imagine is what if my sails are destroyed (or my mast is down) and my engine fails? I don’t want a complicated process to drop the anchor in such an emergency.
The wet look is still in style on SV Outrun. There’s a 316 stainless plate I put down to protect the wood from the Mantus swivel.
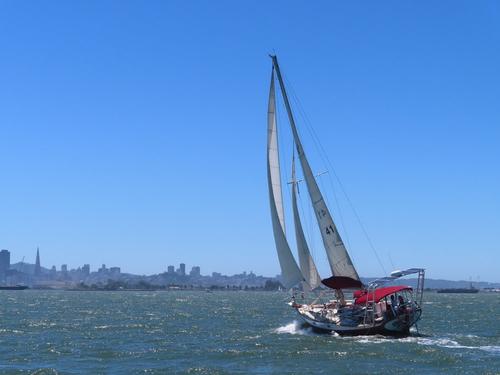
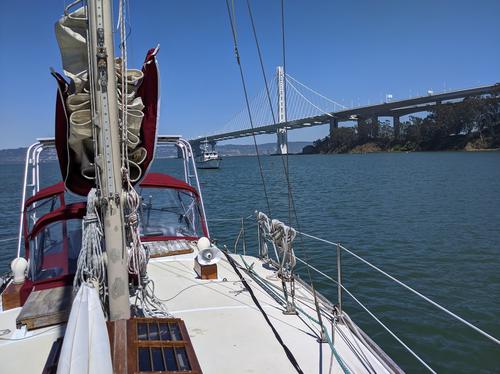
After such good results in testing at the dock, of course I had to go for a real trial, so I headed out to Treasure Island to make sure the Mantus had the holding power to let me eat lunch on the hook in peace.
After dropping the Mantus and plenty of scope, I put some rolling hitches on the chain to make sure I wouldn’t destroy my windlass and foredeck on the first go-around.
It was a bit unnerving, having spent a lot of money and time on something I wasn’t absolutely sure would work. But, using a range of my pulpit and some distant trees over about a minute, there was no movement. We were locked into the mud.
Lunch
Success! Time for lunch.
Previous: Making Custom Cockpit Cushions | Next: Wireless Networking on a Sailboat
- [ 2024-09-01 ] Don't do It
- [ 2022-08-30 ] Mast Work and Synthetic Rigging
- [ 2022-04-19 ] What Happened On the First Trip?
- [ 2022-02-22 ] What's the Plan for Departure?
- [ 2021-04-25 ] Replacing Chainplates
- [ 2021-02-19 ] Three Months of Hell in Napa
- [ 2020-08-02 ] Setting Up A Signal K Server with a USB Gateway